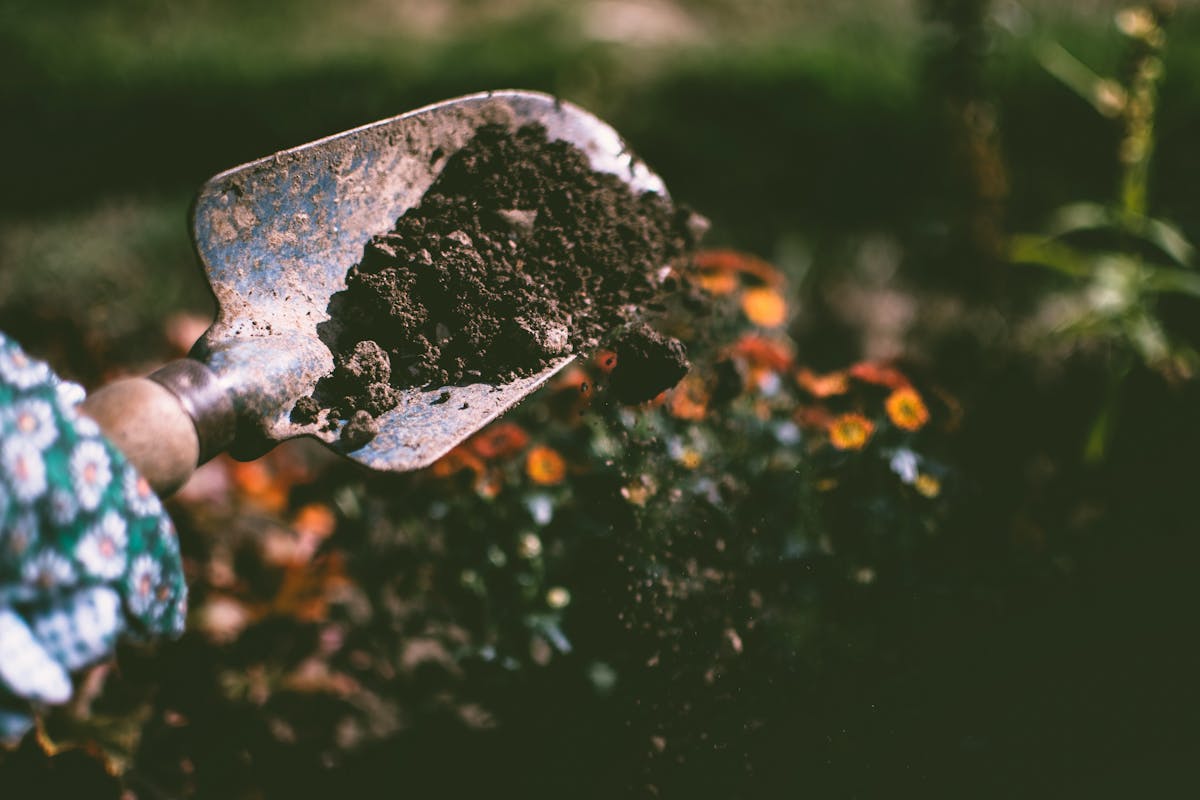
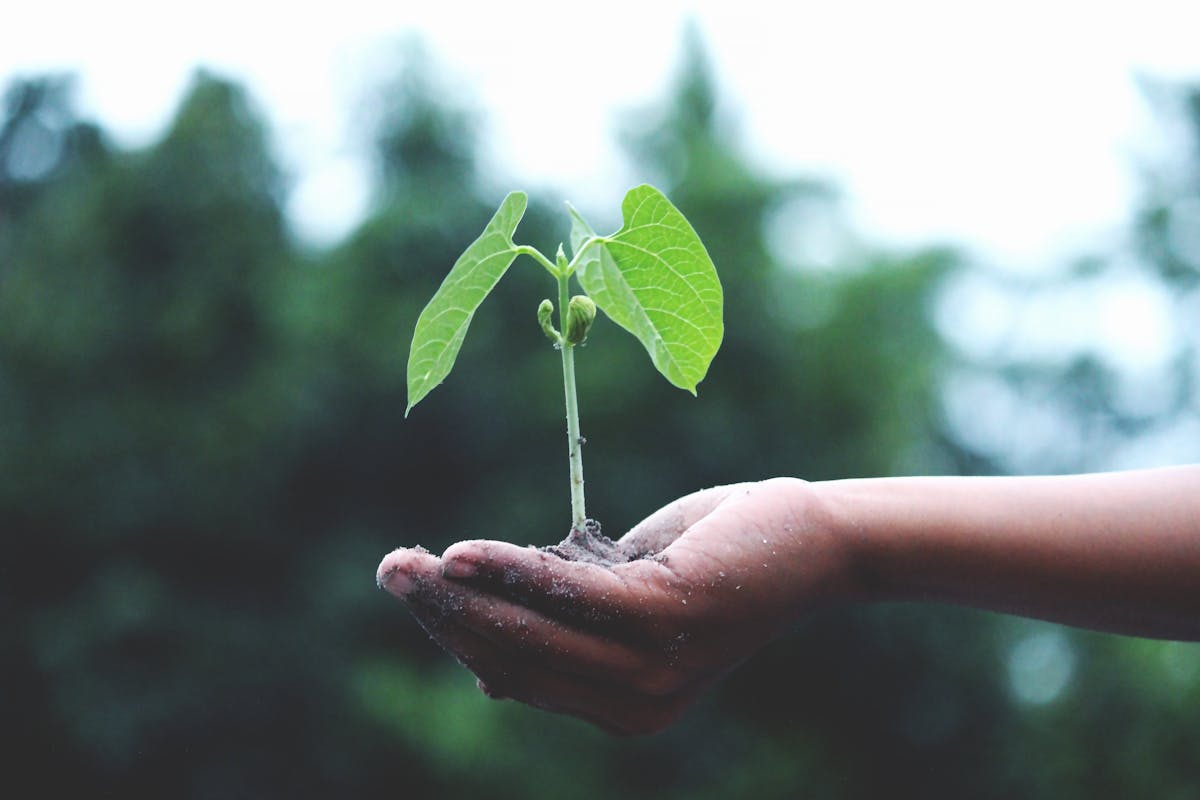
Are you looking for ways to give your garden a nutrient boost without breaking the bank or relying on synthetic chemicals? Imagine turning everyday kitchen scraps and yard waste into a powerhouse of organic goodness for your plants. It's not just an eco-friendly practice; it's a savvy gardener's secret to cultivating healthier, more vibrant plants, improving soil structure, and reducing your household waste footprint. This comprehensive guide will walk you through transforming common household waste into valuable fertilizer, offering practical advice, essential techniques, and solutions to common challenges, ensuring your garden thrives naturally.
Getting Started
Harnessing the power of household waste for your garden begins with understanding that nature is the ultimate recycler. Most organic materials, given time and the right conditions, break down into nutrient-rich humus, feeding the microbial life in your soil and, in turn, your plants. This process not only enriches your garden but also diverts significant amounts of waste from landfills, reducing methane emissions and promoting a healthier planet. Before you start tossing everything into your garden, it's crucial to know which materials are beneficial, what nutrients they provide, and the best way to apply them for maximum impact and minimal fuss.
Understanding the Basics of Organic Fertilizers
Unlike synthetic fertilizers that provide a quick, concentrated dose of specific nutrients, organic fertilizers release nutrients slowly as they decompose. This slow-release mechanism is gentler on plants, less likely to cause nutrient burn, and continuously feeds the soil ecosystem. It also improves soil structure, enhancing water retention in sandy soils and improving drainage in clay soils, while fostering a thriving community of beneficial microorganisms, earthworms, and fungi.
Choosing Your Household Waste Fertilizers
Not all waste is created equal when it to comes to garden benefits. Some items are powerhouses of specific nutrients, while others contribute more broadly to soil health. The key is diversity and balance. Below is a detailed comparison of common household waste items, outlining their benefits, optimal uses, and any considerations you should keep in mind.
| Waste Type | Primary Nutrients | Application Method | Benefits | Considerations |
|---|---|---|---|---|
| Coffee Grounds | Nitrogen, Potassium, Phosphorous, Magnesium, Calcium, Iron. Improves soil structure. | Top Dressing: Work into top soil around acid-loving plants (1-2 cups/sq ft). Compost: Excellent "green" material. Liquid Feed: Steep 1 cup in 5 gals water overnight. | Adds acidity to soil; Repels pests (slugs, ants); Improves structure; Enhances microbial activity. | Can lower pH too much if overused; May attract fungus gnats if wet; Rinse to reduce caffeine. |
| Eggshells | Calcium (90-95%), Magnesium, Phosphorus, Potassium. Essential for cell walls. | Crushed: Rinse, dry, and grind to powder. Direct App: Mix 1-2 tbsp powder per hole. Compost: Add crushed shells. | Slow-release calcium; Prevents blossom end rot; Increases soil pH slightly; Deters slugs (if coarse). | Slow to break down if not powdered; No immediate nutrient boost; Must be clean to avoid pests. |
| Banana Peels | Potassium (high), Phosphorus, Calcium, Magnesium, Sulfur. Promotes roots/fruits. | Chopped: Bury 1/2-inch pieces 4-6 inches deep. Peel Tea: Soak peels in water for 48 hrs. Compost: Excellent "green" material. | High potassium for flowering; Attracts beneficial microbes; Improves vigor and disease resistance. | Attracts fruit flies if on surface; Slow decomposition if not chopped; Use organic to avoid pesticides. |
| Veg & Fruit Scraps | Nitrogen, Phosphorus, Potassium, micronutrients. Improves fertility. | Compost: Mix greens with browns. Trench: Dig 6-12 inch trench, bury, and cover. Direct: Dig small holes near plants. | Rich source of diverse nutrients; Enhances soil structure; Reduces landfill waste. | Attracts pests if not buried deep; Odors if managed poorly; Avoid meat, dairy, and oils. |
| Wood Ash (Untreated) | Potassium (high), Calcium, Magnesium. Increases soil pH. | Top Dressing: Sprinkle thin layer (max 1/4 cup per 10 sq ft). Compost: Add small amounts to balance pH. | High potassium for root/fruit; Good Calcium source; Raises soil pH (counteracts acidity). | Can raise pH too high if overused; Avoid treated wood/charcoal; Do not use on acid-loving plants. |
| Hair & Pet Fur | Nitrogen (high, slow-release), Sulfur. Long-term nitrogen. | Burying: Dig small amounts 4-6 inches deep. Compost: Add to pile as "green" material. | Very high slow-release nitrogen; Improves texture/aeration; Repels deer/rabbits. | Very slow decomposition; Can mat and impede water; Ensure fur is free of flea/tick meds. |
| Compost Tea | Soluble nutrients, beneficial microorganisms. Liquid fertilizer. | Foliar Spray: Dilute 1:1, spray leaves. Soil Drench: Use undiluted or 1:1 at base weekly. | Readily available nutrients; Introduces beneficial microbes; Boosts immunity; Suppresses disease. | Requires aeration during brewing; Labor-intensive; Potency varies by compost quality. |
| Aquarium Water | Nitrogen, Phosphorus, Potassium, trace minerals. | Direct Watering: Use freshwater tank water directly on plants. Replace regular watering. | Gentle, balanced nutrient boost; Free/readily available; Lower risk of fertilizer burn. | Avoid saltwater tanks; Avoid water treated with medications. |
| Starch Water | Starch, trace minerals. Promotes microbial activity. | Cool & Water: Allow pasta/rice water to cool. Use once a week. | Feeds soil microbes; Improves soil texture over time. | Attracts pests if used excessively; Ensure no salt was added. |
Essential Techniques for Utilizing Household Waste
Once you've identified the valuable resources within your home, the next step is to learn how to effectively apply them to your garden. The method of application is just as important as the material itself, influencing nutrient availability, pest deterrence, and overall garden health.
1. Composting: The Cornerstone Technique
Composting is arguably the most versatile and beneficial method for transforming a wide range of household organic waste into a nutrient-dense, soil-improving amendment. It's a controlled decomposition process that breaks down organic matter into humus.
- Setting Up Your Compost: You'll need a balance of "greens" (nitrogen-rich, like kitchen scraps, grass clippings, coffee grounds) and "browns" (carbon-rich, like dry leaves, shredded paper, wood ash). Aim for a ratio of roughly 2 parts browns to 1 part greens.
- Layering and Turning: Start with a layer of browns, add greens, then another layer of browns. Keep the pile moist (like a wrung-out sponge) and turn it regularly (weekly to monthly) to aerate and speed up decomposition.
- What to Compost: Most fruit and vegetable scraps, coffee grounds, tea bags, eggshells, untreated wood ash, yard waste (leaves, grass clippings, small twigs), hair, and pet fur.
- What NOT to Compost: Meat, dairy, oily foods, diseased plants, pet waste (from carnivorous animals), chemically treated wood, and weeds with mature seeds. These can attract pests, introduce pathogens, or contaminate your compost.
2. Direct Application Methods
For those who don't have a compost pile or want to give specific plants a targeted boost, direct application is a practical alternative.
a. Trench Composting and Burying Scraps
This method involves burying kitchen scraps directly into the garden soil, allowing them to decompose in situ.
- Technique: Dig a trench or individual holes 6-12 inches deep between rows of plants or in unused sections of your garden. Place a 2-4 inch layer of chopped fruit and vegetable scraps, then cover completely with soil. Ensure at least 4-6 inches of soil covers the scraps to deter pests and odors.
- Timing and Placement: Rotate trench locations each season. For individual plants, bury scraps about 6-8 inches from the plant's base, ensuring not to disturb roots. Apply once every 2-4 weeks, or as new scraps accumulate.
- Best for: General kitchen scraps (non-meat/dairy), banana peels, coffee grounds.
- Benefits: Feeds soil microbes directly, improves soil structure, slow-release nutrients.
b. Top Dressing
This involves spreading materials on the soil surface around plants.
- Coffee Grounds: Sprinkle a thin layer (approx. 1/4 inch thick) around acid-loving plants like blueberries, rhododendrons, and hydrangeas, or lightly around general garden beds. Work gently into the top inch of soil. Reapply every 4-6 weeks. Avoid thick layers which can compact and repel water.
- Wood Ash: Use very sparingly. Sprinkle a fine dust (no more than 1/4 cup per 10 square feet) around plants that prefer slightly alkaline soil (e.g., beans, peas, cabbage) or need a potassium boost. Avoid on acid-loving plants. Apply every 2-3 months at most.
- Eggshells: For a slow-release calcium boost, sprinkle finely crushed eggshells around the base of tomatoes, peppers, and other fruiting vegetables. Use about 1/2 cup per square foot every 2-3 months. Work into the topsoil.
c. Making "Teas" (Liquid Fertilizers)
Liquid fertilizers offer a quick way to deliver nutrients to plants, either through their roots or leaves.
- Banana Peel Tea: Chop 2-3 banana peels and soak them in 1 gallon of water for 24-48 hours. Strain the liquid and use it to water flowering and fruiting plants every 2 weeks. The solids can be composted or buried.
- Coffee Ground Tea: Steep 1 cup of used coffee grounds in 5 gallons of water overnight. Use this diluted liquid to water plants, especially acid-lovers, weekly.
- Compost Tea: Fill a permeable bag (like an old pillowcase or mesh bag) with 1-2 cups of finished compost and steep it in 5 gallons of unchlorinated water for 24-48 hours, ideally with an air pump for aeration. Dilute 1:1 with water for foliar spray or use undiluted as a soil drench. Apply weekly or bi-weekly.
d. Incorporating Hair and Pet Fur
- Technique: Gather small amounts of human hair (from brushes, salon sweepings) or pet fur (from grooming). Dig small holes 4-6 inches deep near the base of plants or in new planting holes. Place a small handful of hair/fur and cover completely with soil.
- Timing: Apply every 3-4 months for a slow, steady nitrogen release.
- Considerations: Ensure pet fur is free of chemical treatments (flea/tick meds). Avoid large clumps as they can mat and repel water.
Common Challenges and Solutions
While using household waste as fertilizer is incredibly rewarding, it can come with a few challenges. Being prepared for these issues will ensure your gardening journey remains successful and enjoyable.
| Challenge | Symptoms/Signs
5. Best Practices for Maximizing Your Homemade Fertilizers
Mastering the art of using household waste as fertilizer isn't just about knowing what to use, but how to use it effectively. Proper application ensures your plants get the right nutrients at the right time without overdoing it.
Understanding Your Soil and Plants
Before you sprinkle, pour, or bury, take a moment to observe. Your soil is the foundation, and your plants are the indicators.
- Soil Testing: While not always necessary for casual composting, a simple soil test every 2-3 years can provide invaluable insights into your soil's pH and existing nutrient levels. Knowing if your soil is acidic or alkaline, or if it's deficient in nitrogen, phosphorus, or potassium, will help you tailor your homemade fertilizer strategy. Many university extension offices offer affordable soil testing services.
- Listening to Your Plants: Plants communicate their needs. Yellowing leaves might indicate a nitrogen deficiency (a cue for coffee grounds or grass clippings). Stunted growth could point to a lack of phosphorus, while poor fruiting might suggest insufficient potassium (banana peels to the rescue!). Brown leaf edges can sometimes signal a potassium deficiency. Over-fertilization can also cause problems, like 'fertilizer burn' (browning, crispy leaves) or excessive leafy growth at the expense of flowers and fruit.
Application Techniques and Timings
Different waste products require different application methods and frequencies for optimal results.
- Compost Application:
- Timing: The best times to apply finished compost are in early spring before planting and again in late autumn after harvest.
- Method: Spread a 1-2 inch layer of mature compost over your garden beds. You can gently rake it into the top few inches of soil (no deeper than 4-6 inches to avoid disturbing soil structure) or leave it as a top-dressing or mulch. For potted plants, mix 1 part compost with 3-4 parts potting mix.
- Frequency: Generally, once or twice a year is sufficient for garden beds. For heavy feeders or struggling plants, a lighter top-dressing can be applied mid-season.
- Liquid Feeds (Compost Tea, Vegetable Cooking Water, Diluted Coffee/Tea):
- Dilution is Key: Always dilute liquid fertilizers. A common ratio for compost or comfrey tea is 1 part concentrate to 10 parts water (1:10). Vegetable cooking water can often be used undiluted once cooled.
- Timing: Apply during the active growing season, typically every 2-4 weeks, especially for fruiting and flowering plants.
- Method: Water directly around the base of plants, aiming for the root zone. Avoid spraying directly onto leaves, especially in hot sun, as this can cause scorching. For seedlings, use a very diluted solution (e.g., 1:20).
- Solid Amendments (Eggshells, Banana Peels, Coffee Grounds):
- Eggshells: Crush them thoroughly (the finer, the faster they break down). Incorporate into the soil around calcium-loving plants (tomatoes, peppers, brassicas) at planting time, or sprinkle around the base of established plants monthly.
- Banana Peels: Chop into small pieces to speed decomposition. Bury 2-4 inches deep near the base of fruiting plants (like tomatoes, roses, peppers) every 3-4 weeks. You can also add them directly to your compost pile.
- Coffee Grounds: Work a thin layer (up to 1/2 inch) into the topsoil around acid-loving plants (blueberries, azaleas, roses) monthly, or add to your compost pile. For general use, mix sparingly into soil.
- Wood Ash: Use sparingly and only if your soil is acidic, as it raises pH. Sprinkle a very thin layer (no more than 1/4 cup per square yard) over garden beds once a season. Always avoid using ash from treated or painted wood.
Avoiding Pitfalls
Even the best intentions can lead to problems if not carefully managed.
- Over-fertilization: Too much of a good thing can harm plants, leading to 'burn,' stunted growth, or inhibiting flowering/fruiting. When in doubt, under-fertilize.
- Contaminants: Ensure your waste is free from harmful chemicals, pesticides, or non-biodegradable materials. Avoid pet waste (especially carnivorous animals) in compost, as it can contain pathogens.
- Pest Attraction: Raw food scraps exposed on the surface can attract pests. Always bury them or ensure they are well-covered in a compost pile.
- pH Imbalance: Be mindful of how certain additions, like wood ash (alkaline) or large quantities of coffee grounds (slightly acidic), might affect your soil's pH over time.
By following these best practices, you'll ensure your household waste fertilizers are a boon, not a burden, to your thriving garden.

6. Seasonal Considerations for Your Waste Fertilization Strategy
Just as your garden changes with the seasons, so too should your approach to using household waste as fertilizer. Tailoring your strategy to the specific needs of your plants and soil throughout the year will yield the best results.
The Rhythmic Needs of Your Garden
- Spring: The Season of Growth and Preparation. As temperatures rise and daylight lengthens, plants awaken from dormancy. This is the time for vigorous new growth, leaf development, and preparing beds for planting. Your fertilizer focus should be on nitrogen to fuel lush foliage and overall plant vigor.
- Summer: Sustaining Bloom and Harvest. With peak sunlight and warmth, plants are often in their most active phases of flowering and fruiting. Their nutrient demands are high, especially for phosphorus (for flowers and roots) and potassium (for fruit development and overall plant health). Regular, balanced feeding is crucial.
- Autumn: Replenishment and Winter Preparation. As the growing season winds down, the focus shifts from production to soil health and preparing plants for dormancy. This is an excellent time to rebuild soil structure, replenish nutrients that have been depleted, and add organic matter for slow decomposition over winter.
- Winter: Dormancy and Protection. For most outdoor gardens, winter is a period of dormancy. Fertilization is generally unnecessary and can even be harmful. For indoor plants or overwintering edibles, a very minimal approach is best.
Seasonal Application Guide
Here’s a detailed table to guide your household waste fertilization efforts throughout the year:
| Season | Primary Gardening Focus | Recommended Household Waste Fertilizers | Application Notes |
|---|---|---|---|
| Spring | 🌱 New growth, preparing beds, planting, invigorating dormant plants | Coffee grounds: Nitrogen boost for leafy greens, acid-loving plants. Finished compost: General soil amendment, nutrient rich. Eggshells: For calcium-loving plants at planting. Diluted grass clippings/comfrey tea: Quick nitrogen for young plants. | Work compost and eggshells into topsoil before planting. Apply liquid feeds every 2-3 weeks for seedlings and young plants to encourage vigorous growth. Use coffee grounds around specific plants. |
| Summer | ☀️ Flowering, fruiting, sustained growth, heavy feeders | Banana peels: Potassium for flowers and fruit (tomatoes, peppers, roses). Compost tea/Vegetable cooking water: Balanced liquid feed for active growth. Worm castings: Gentle, nutrient-rich top-dressing for continuous feeding. Occasional coffee grounds: For continued nitrogen needs, but less frequently than spring. | Apply liquid feeds every 1-2 weeks for heavy feeders (e.g., tomatoes, squash). Bury chopped banana peels near fruiting plants. Top-dress with worm castings around established plants. Monitor for signs of nutrient deficiency or excess. |
| Autumn | 🍂 Soil replenishment, preparing for dormancy, late season crops | Raw food scraps: Bury directly into empty garden beds to decompose over winter, enriching soil. Leaf mold: Excellent source of organic matter, improves soil structure. Wood ash (sparingly): Potassium and raises pH for acidic soils (test first!). Finished compost: Final layer for winter protection and soil building. | Incorporate raw scraps and leaf mold into empty beds. Spread a final 1-2 inch layer of compost over the garden to protect soil and feed microbes. Use wood ash very cautiously, no more than once a season, and only if soil pH is low. |
| Winter | ❄️ Dormancy (outdoor), minimal growth (indoor plants/overwintering) | Indoor plants: Very diluted compost tea or vegetable cooking water. Outdoor: Protective layer of leaf mold or compost (no direct feeding). | Avoid feeding outdoor plants as they are dormant. For indoor plants actively growing, apply a very light, diluted feed once a month at most. Focus on maintaining moisture and light. This is an excellent time to build your compost pile! |
Preparing and Storing Materials Seasonally
Consider gathering specific waste items during their peak availability. For example, collect and dry citrus peels during winter for future pest deterrents or soil amendments. Save coffee grounds year-round. Start larger compost batches in autumn when leaf fall is abundant, ensuring you have finished compost ready for spring planting.
By aligning your household waste fertilization with the natural rhythms of the seasons, you'll not only provide optimal care for your plants but also develop a more intuitive and sustainable gardening practice.
7. Conclusion: Cultivating a Sustainable Garden, One Scrap at a Time
We've journeyed from the basics of composting to advanced seasonal strategies, all powered by the often-overlooked treasures within your own home. From the introduction of simple concepts to navigating common challenges and embracing best practices, the message has been clear: your household waste is a powerful, free, and sustainable resource for a thriving garden.
We've explored how everyday items like coffee grounds can invigorate nitrogen-hungry plants and acidify soil, how eggshells fortify cell walls and prevent blossom end rot, and how banana peels provide potassium crucial for robust flowering and fruiting. We've seen the magic of vegetable cooking water delivering a gentle, balanced nutrient boost, and the unparalleled benefits of a well-maintained compost pile transforming diverse organic matter into the ultimate soil amendment. Even humble wood ash, used judiciously, finds its place in replenishing potassium and balancing pH.
The benefits extend far beyond your garden beds. By diverting food scraps and organic waste from landfills, you're actively reducing methane emissions and lessening your environmental footprint. You're saving money on expensive chemical fertilizers, which often deplete soil health in the long run. Most importantly, you're nurturing a vibrant, living soil ecosystem, rich in beneficial microbes, which in turn leads to healthier, more resilient plants, and ultimately, more bountiful, nutritious harvests.
Remember, gardening with household waste is not about perfection; it's about participation. It's an ongoing experiment, a gentle dance with nature. Start small: perhaps dedicate a container for coffee grounds, begin a simple compost pile, or try burying a banana peel near your favorite rose bush. Observe how your plants respond, learn from your experiences, and don't be afraid to try new combinations.
Your garden is a testament to life, growth, and renewal. By embracing the cycle of nature in your own backyard, transforming kitchen scraps into garden gold, you're not just growing plants – you're cultivating a more sustainable lifestyle, one scrap at a time. So, next time you're about to toss those "waste" items, pause and remember the hidden potential they hold. Your garden, and the planet, will thank you.
Happy composting, and happy gardening!
